Process
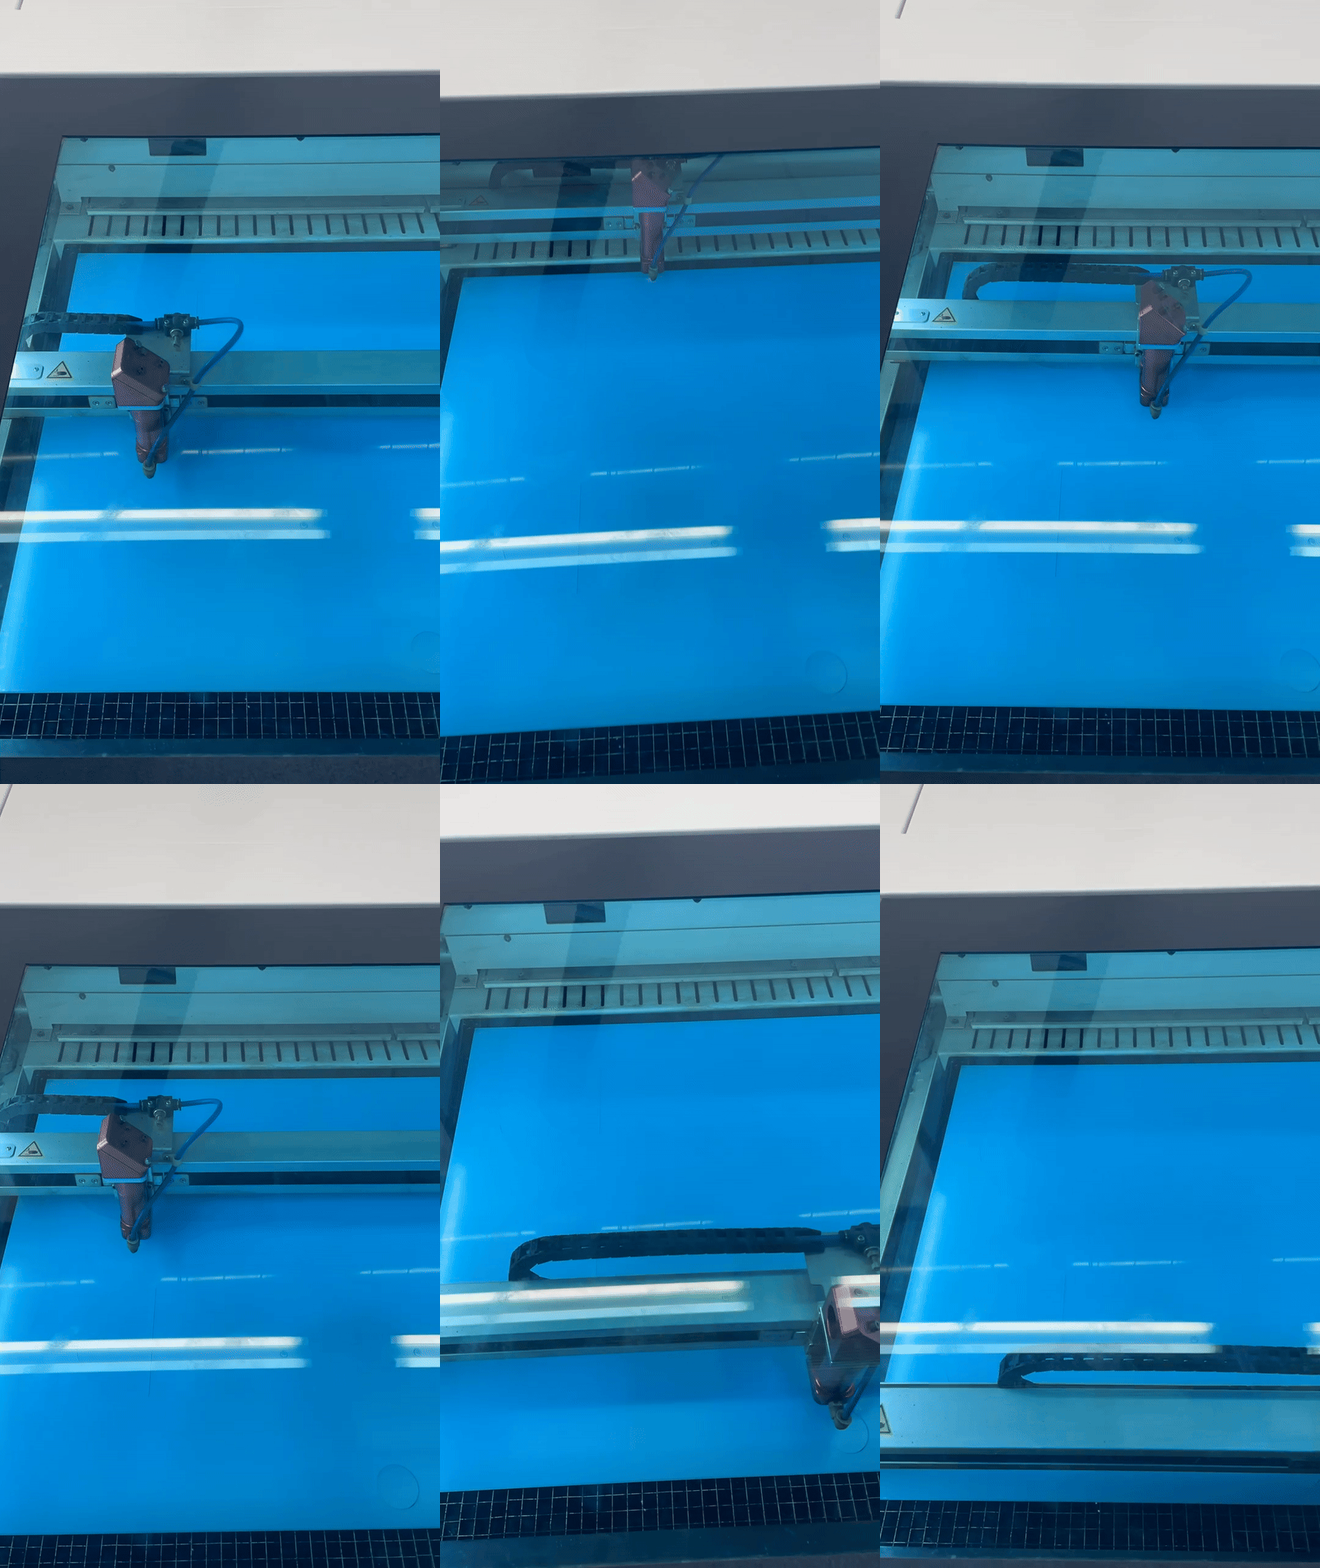
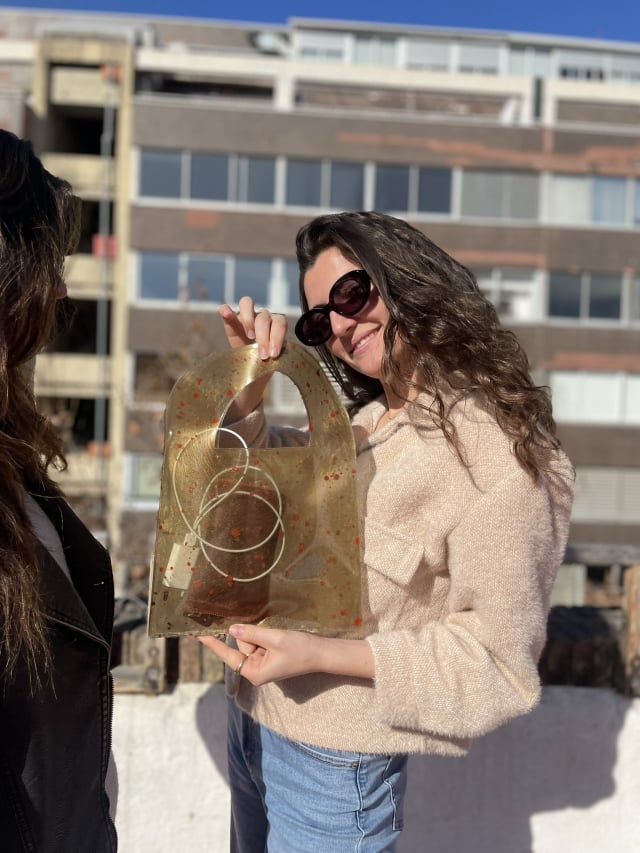
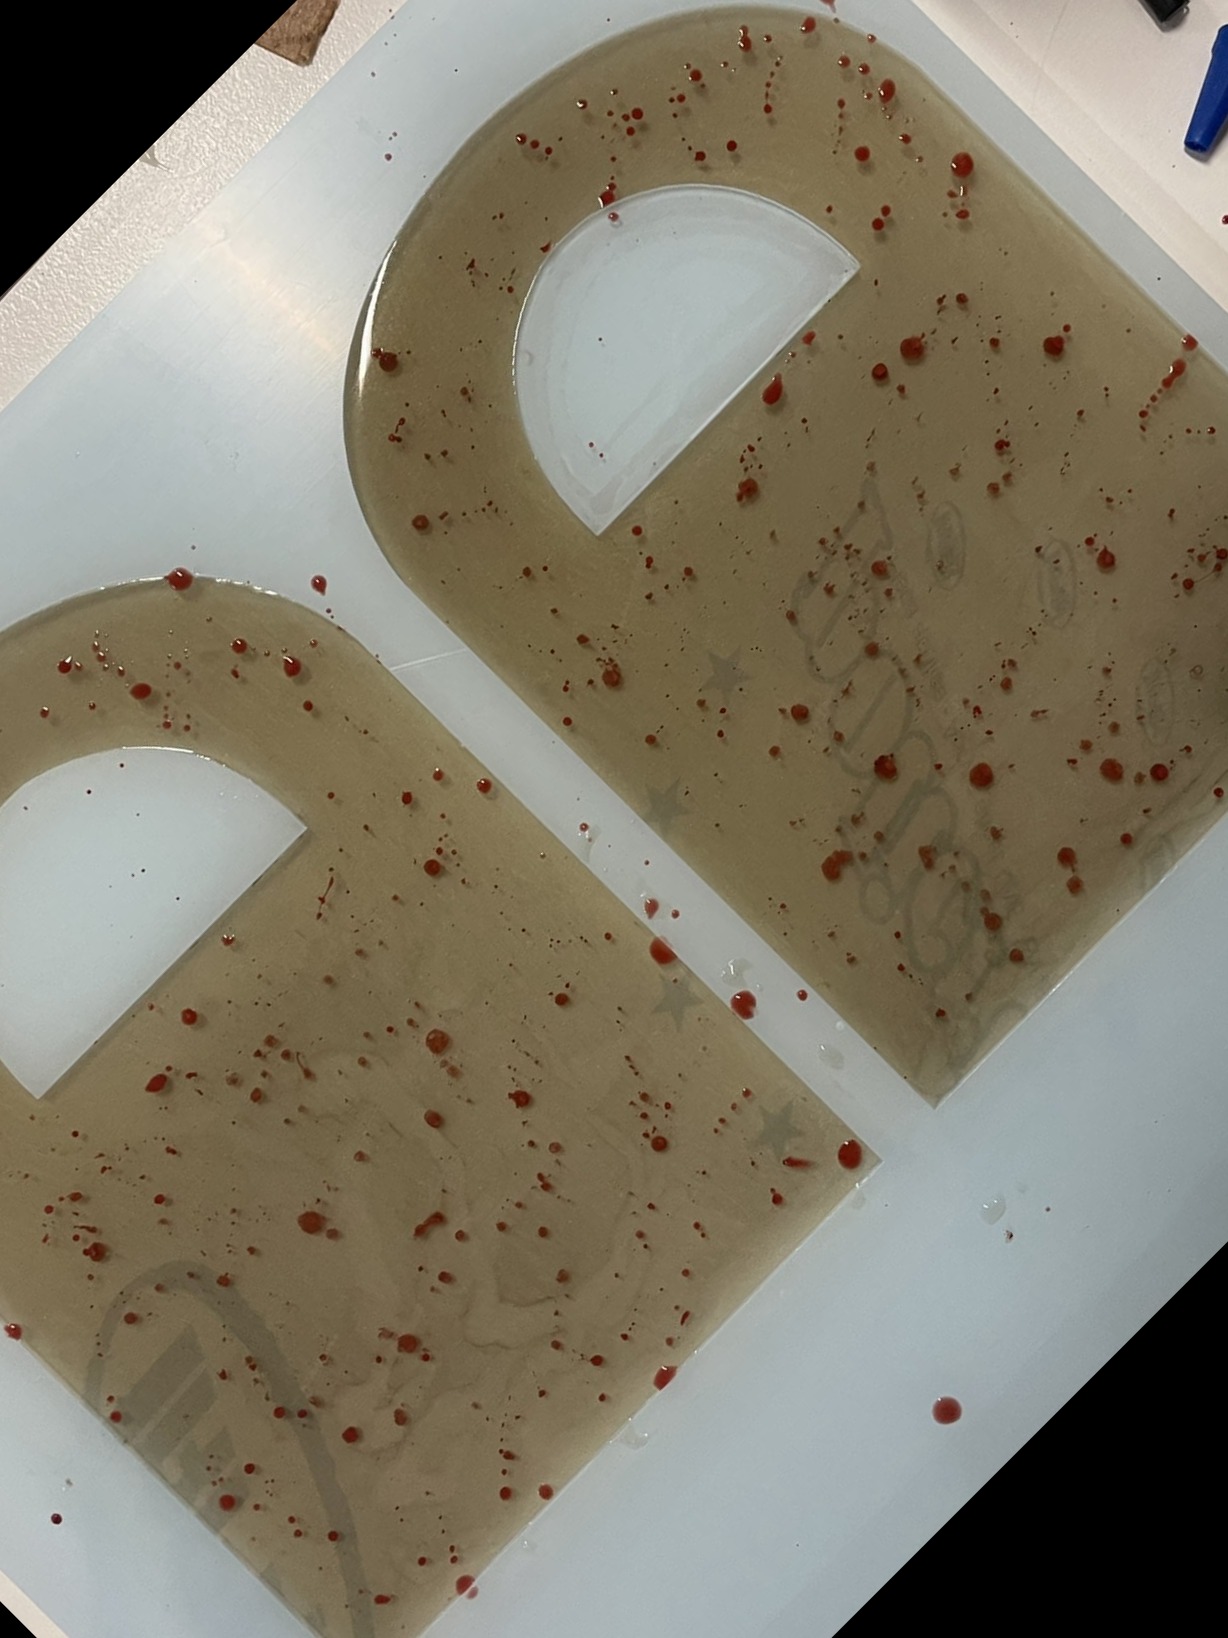
1. The mold: After drawing inspiration from Pinterest for the shape of our bag, we designed the pattern for the mold on Illustrator. Both Vania and I were new to using this tool, so it took us a while to get the right shape, but we got there eventually. We then sent the file to the laser cutting machine in the FabLab. Files have to be saved in the .dxf format to be compatible with the machine. Colours then have to be associated to the different cutting steps in Rhino: inside cuts should be done before outside cuts to ensure more stability. We chose a 5mm thick acrylic sheet for the mold to ensure enough thickness for the bioplastic sheets constituting our bag. We ensured that the right frequency and power for this material and this thickness. We then stuck the mold onto leftovers of the acrylic sheet to create the back of our mold.
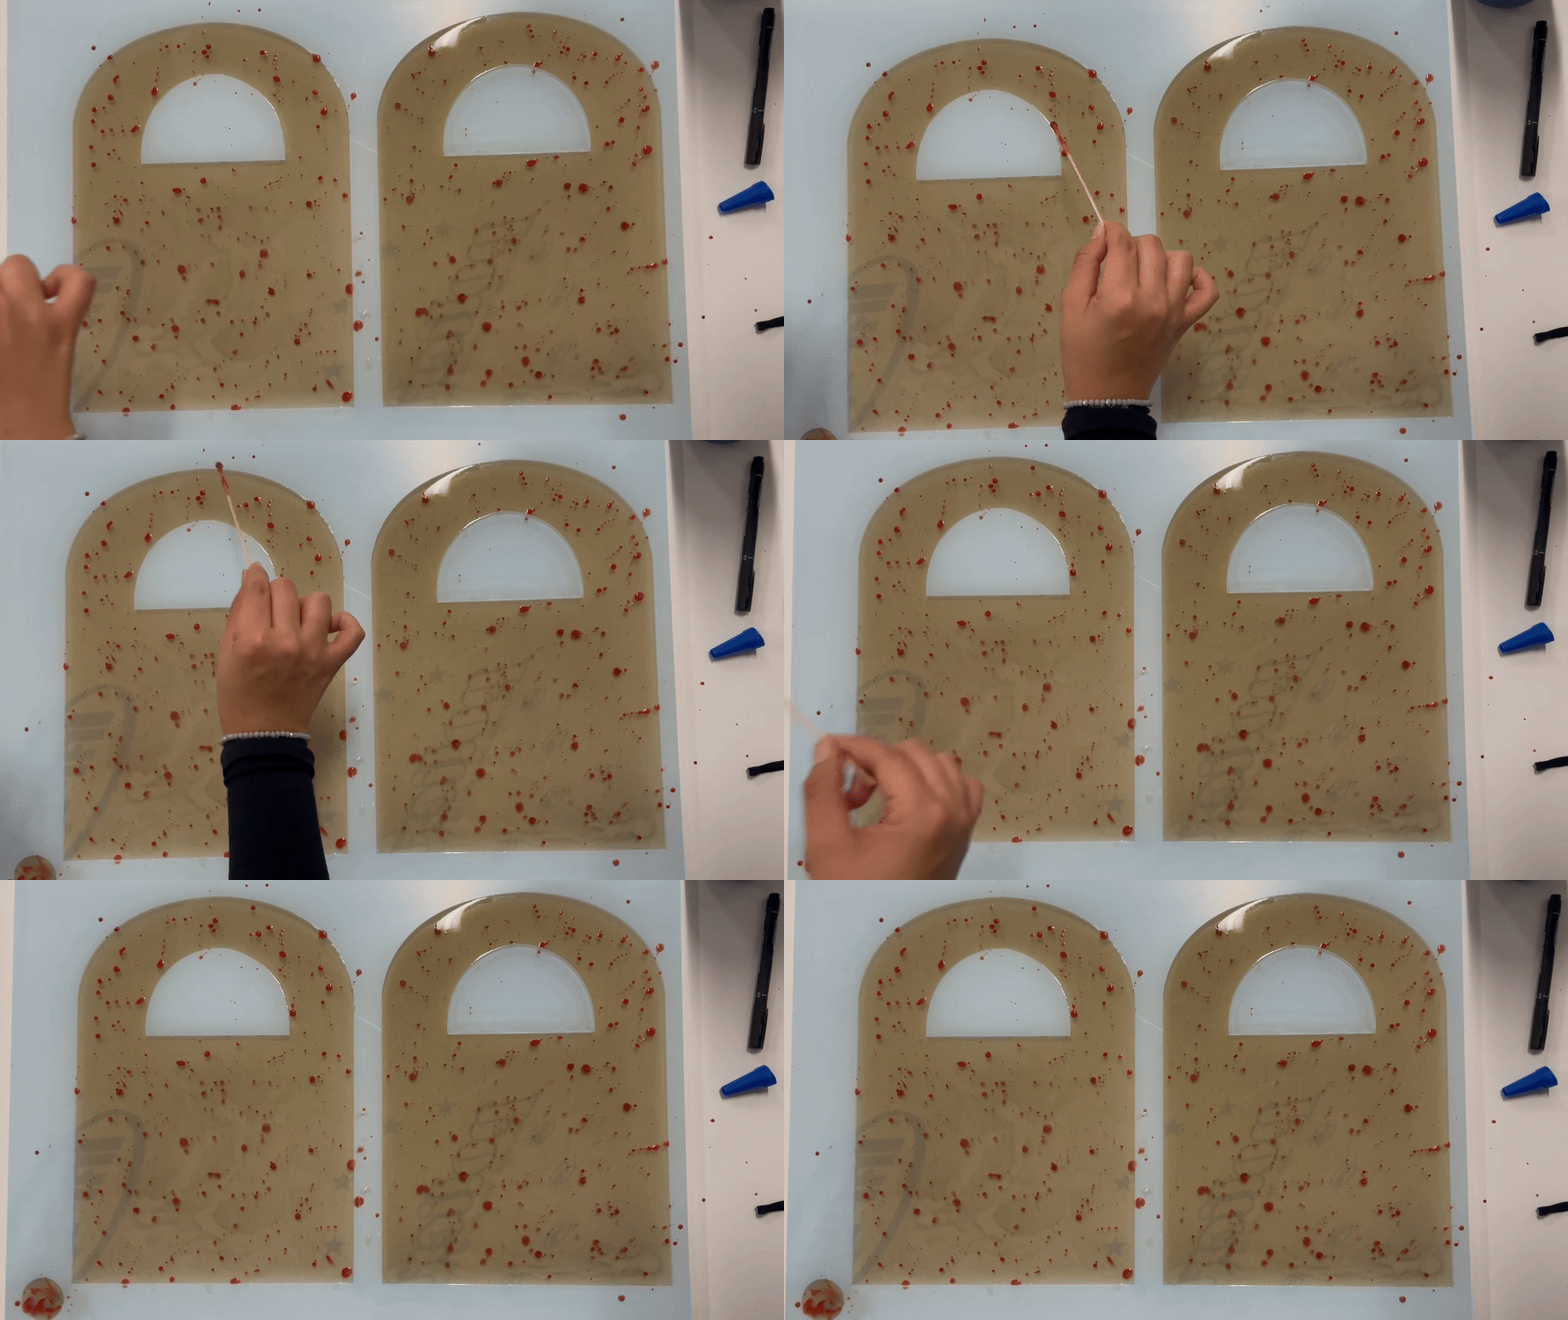
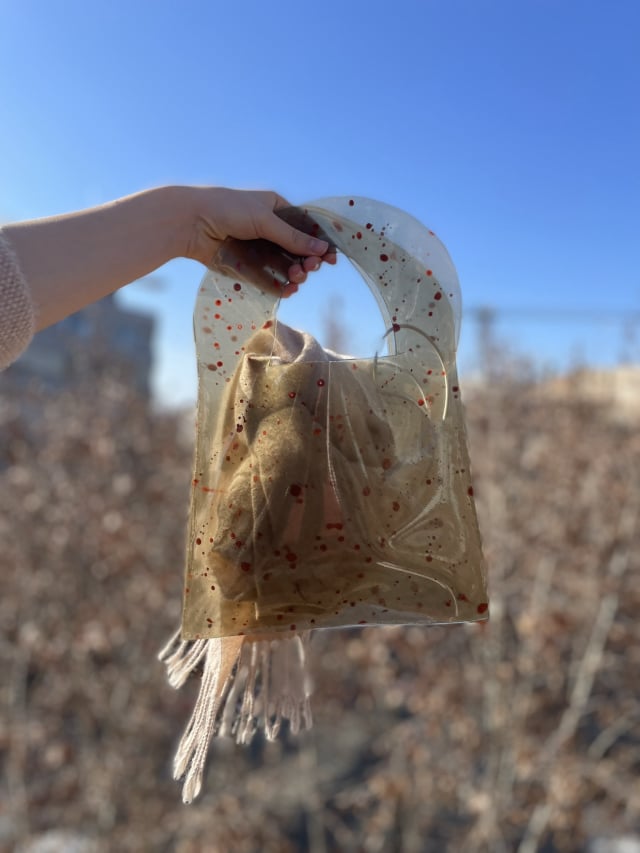
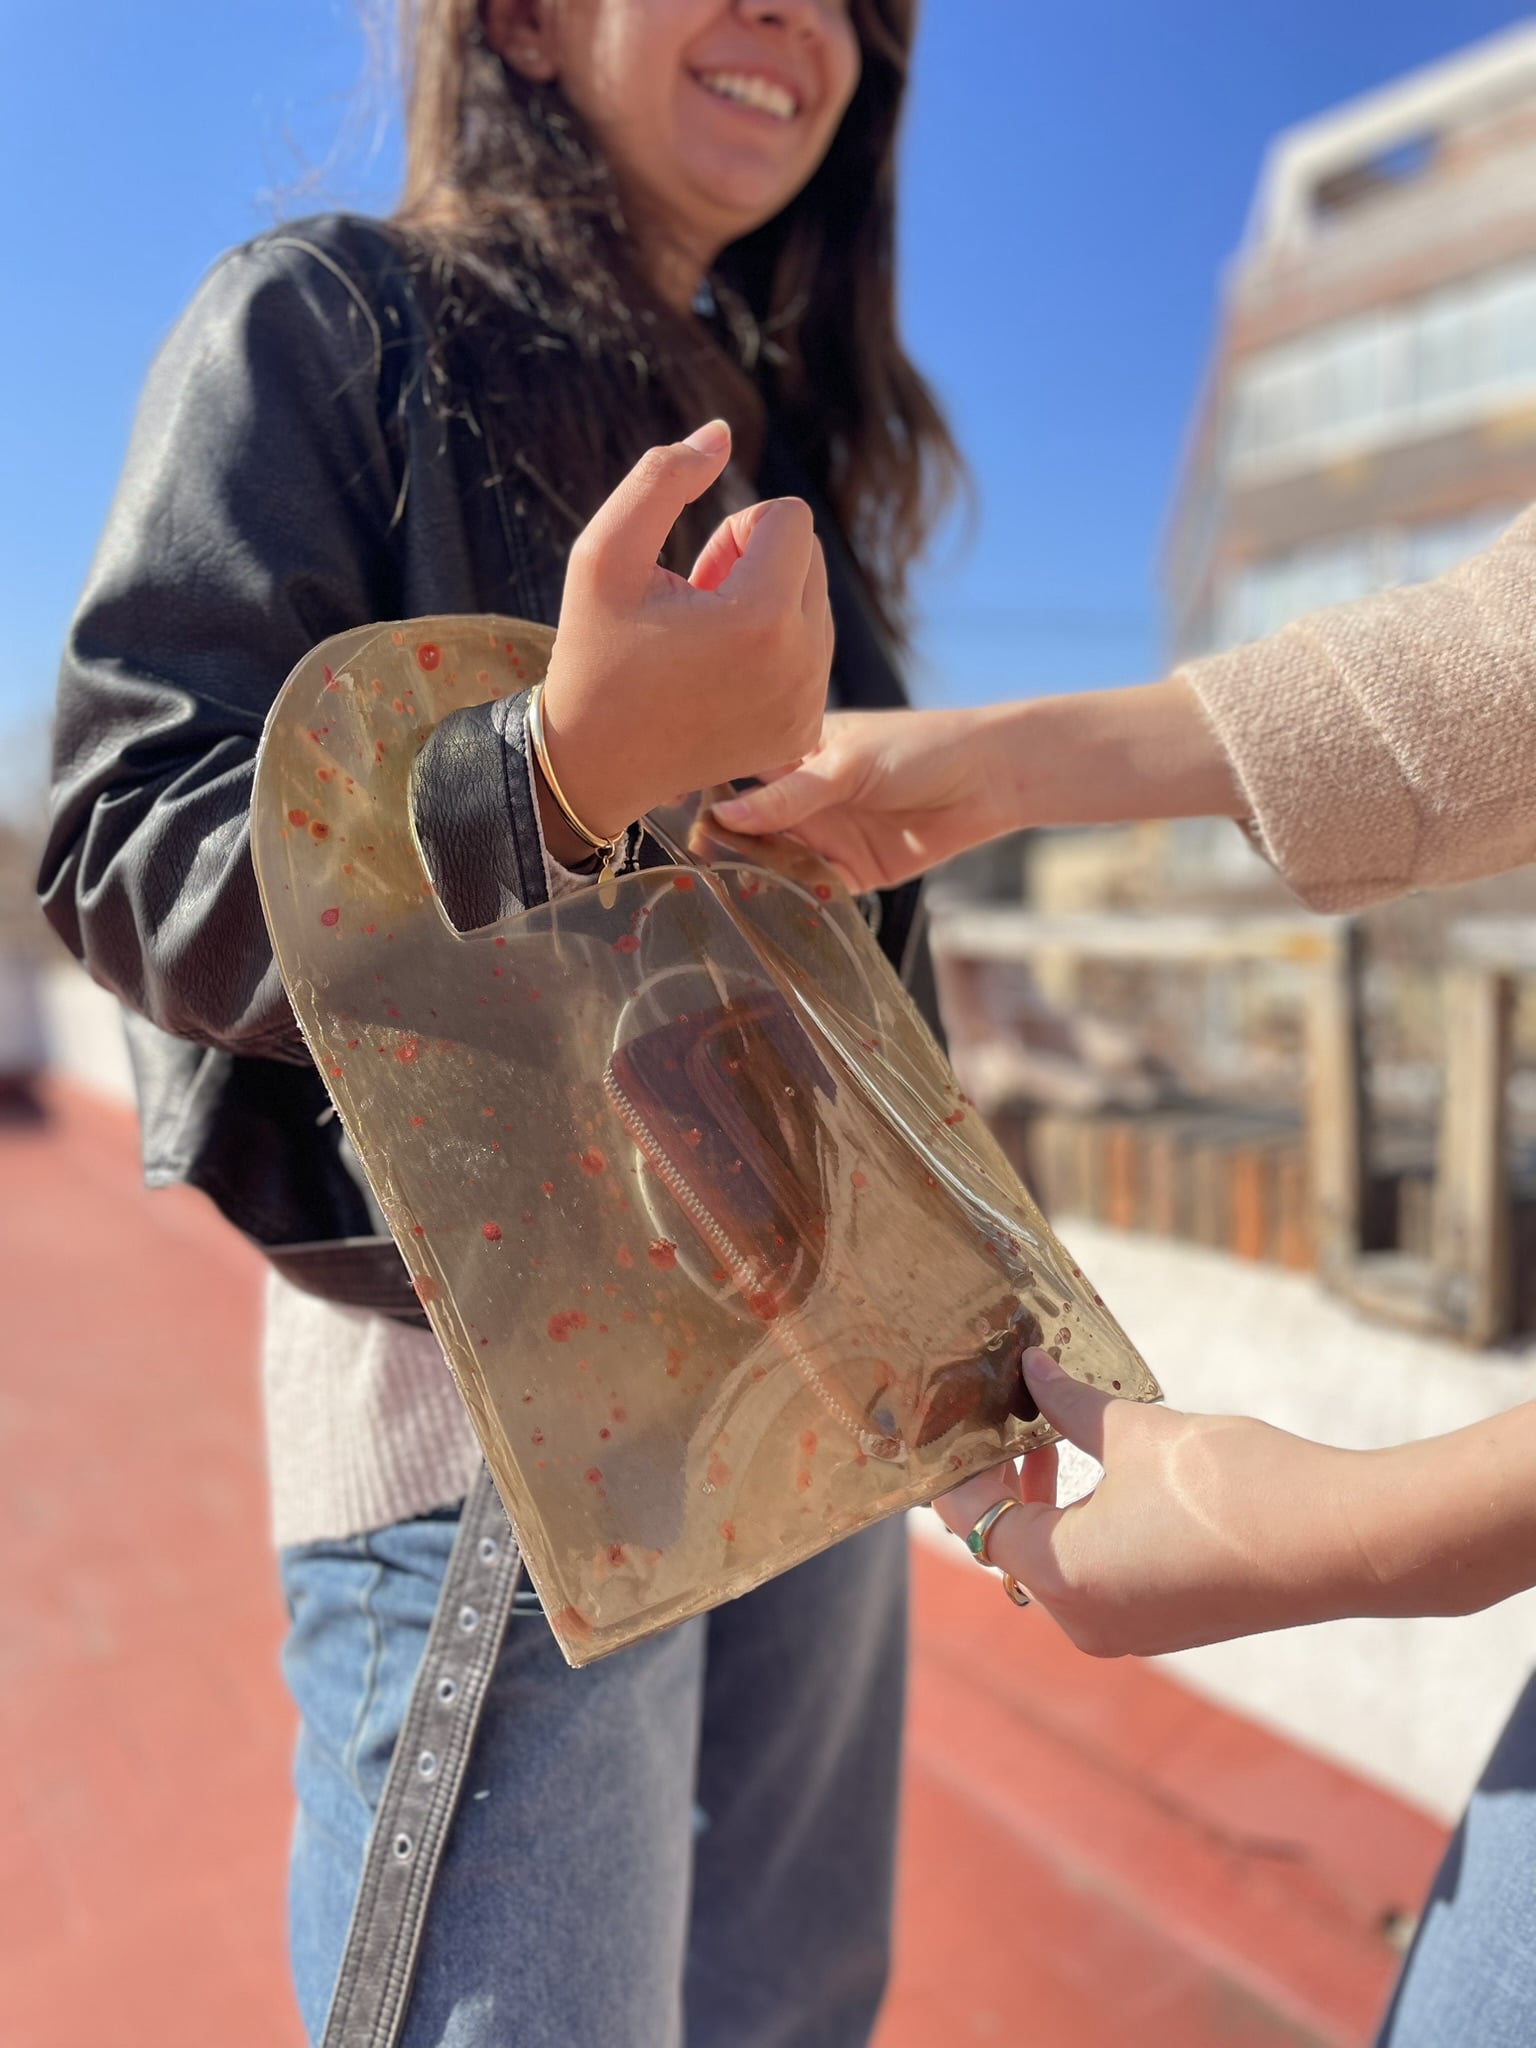
2. The bioplastics: We had the choice between sodium alginate, gelatine and agar agar as the base biopolymer for our bag. We chose gelatine as we wanted to have a shiny and transparent finishing for our bag. We followed a specific recipe (see here ->) for gelatine and added glycerol to make our gelatine sheets flexible. We then poured the mixture in the bag mold and let it dry for 5 days. With the leftover gelatine, we made the red polkadot pattern, adding mica (red colour) to the mixture, and splashing it onto the bag sheets.
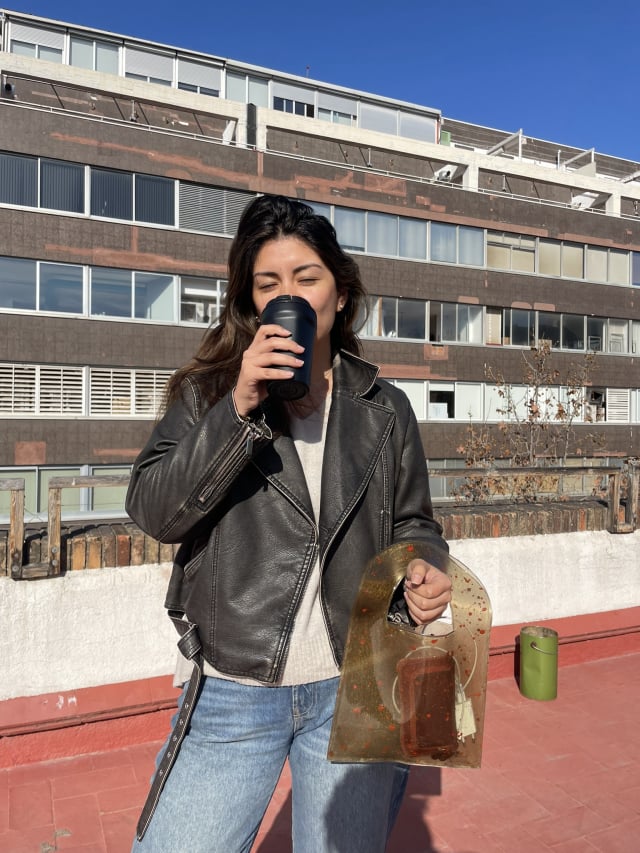
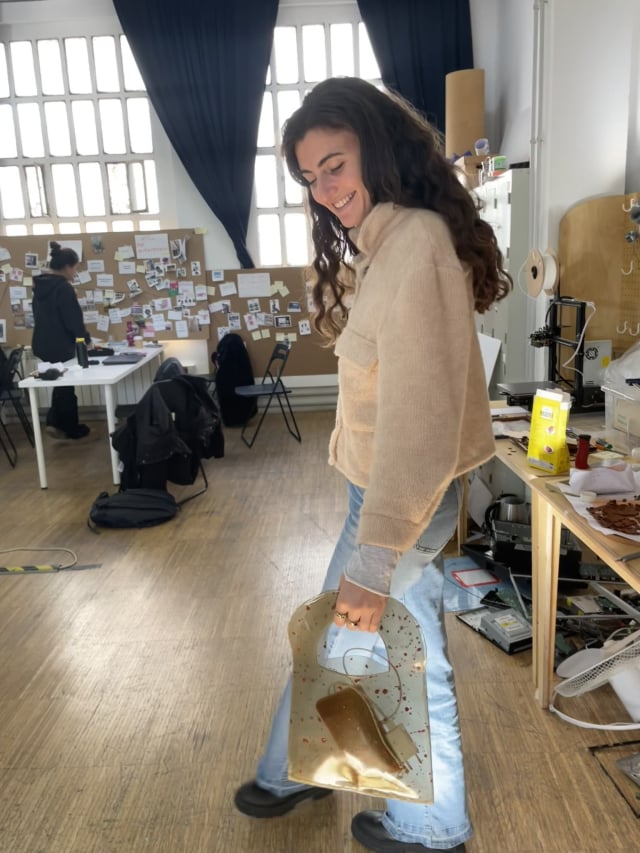
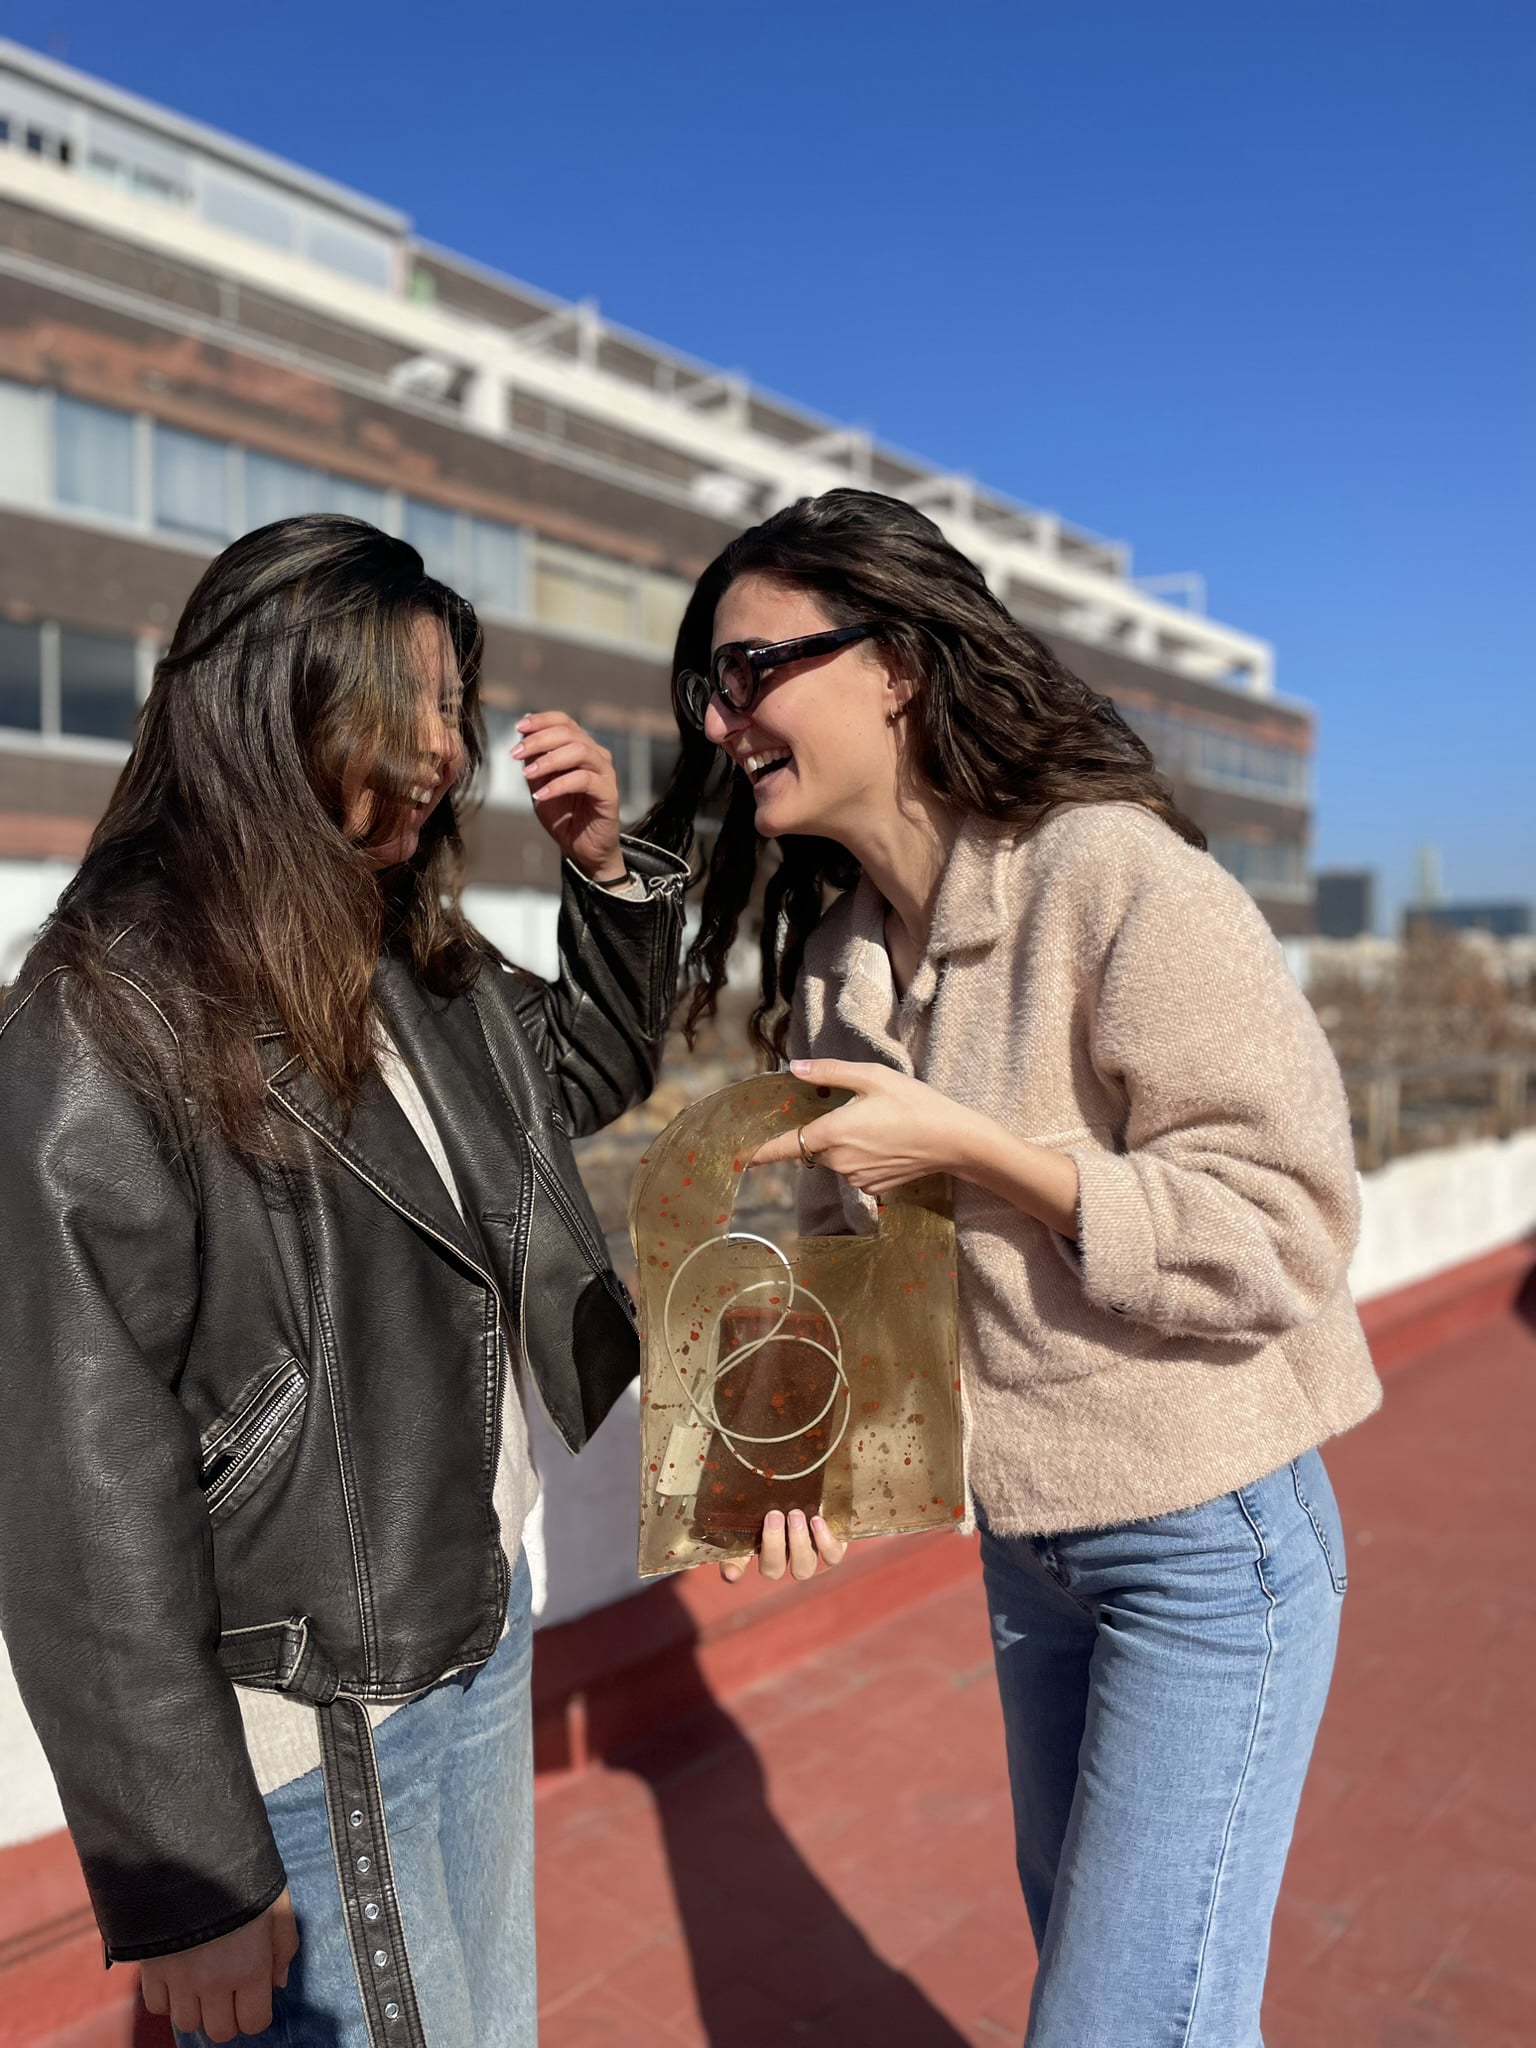
3. The bag: We were checking whether the texture of the sheets were right each day before detaching them from their molds. After 5 days of drying, we carefully detached the sheets. 5 days was just about right to get the texture that we wanted, robust but flexible. Anytime before that would have made the sheets too flexible. We then did a new mixture of gelatine to serve as glue between the two sheets, which we applied with a syringe on the edges of the bag. After another day of drying, the bag was ready to wear!
Recipe
Tools
Pot
Stove
Digital scale
Syringe
Cutter
Materials
120g Gelatine (Biopolymer)
600ml Water (Solvent)
72g Glycerine (Plasticiser)
Natural Colouring: Gold Mica and Red Mica
Gelatine mix
Add the gelatine to the water.
Warm the mix until it becomes homogeneous, do not boil.
Add the glycerine and stir.
Add the gold mica for colour and stir again. Let the mixture cool off.
Casting
Pour mixture into the mold and eliminate bubbles
Add red mica to the leftover mixture and splash evenly across the bag sheets. Let it dry for days.
Removal
Delicately pull off the sheets from the mold with the help of a cutter.
Assembly
Make a new mix of gelatine by dividing the proportions of the above recipe in half. Pour the mixture in a syringe and apply it at the edges of one of the bag sheets. Apply the other bag sheet on top of it and let it try for a day. 24h later... your bag is ready to wear!
Key Learnings
This was a really fun experience where I got to mix creativity and technical skills. This was my first time manipulating Rhino and figuring out the right settings for digital fabrication machines, and I'm very happy I finally got to learn that! It also taught me the value of iterative design as we did several tests with different biopolymers before casting the final bag to understand which was the ideal biopolymer for the desired texture. It also showed that sustainable alternatives to plastic are really accessible and easy to create, with the right recipes! I learned a lot about biomaterial properties and feel like I am now better equipped to create adequate biomaterial prototypes.
Reflections
Although gelatine was ideal for the desired transparent and glossy finishing, it is not the most durable biopolymer. It is sensitive to water and heat. We therefore thought that we could do another iteration of the bag with agar agar. We ruled out sodium alginate after doing a few tests with it, as it shrinks significantly during the drying process.
We also thought of using a different mold, where the bottom border of the bag would be replaced by the symmetrical copy of the second sheet of the bag. In that way, we would just have to fold the bottom of the bag instead of sealing it with gelatine, which could improve the robustness of the bag.
I also reflected on the real sustainability of bioplastics: although the materials used are sustainable themselves, I wonder whether the processes needed to obtain the biopolymers and plasticisers are carbon-heavy... Indeed, the full production process should be taken into account to assess sustainability.
